

Integration Scenario Demos
This page explains how to use the Payment integration mode. This approach involves calling only Subotiz’s payment engine, allowing you to fully design and build your own front-end interface and business logic. If you require comprehensive product management, subscription, and payment capabilities, please proceed to Embedded Checkout.Embedding a Complete Checkout Page (Red Section)
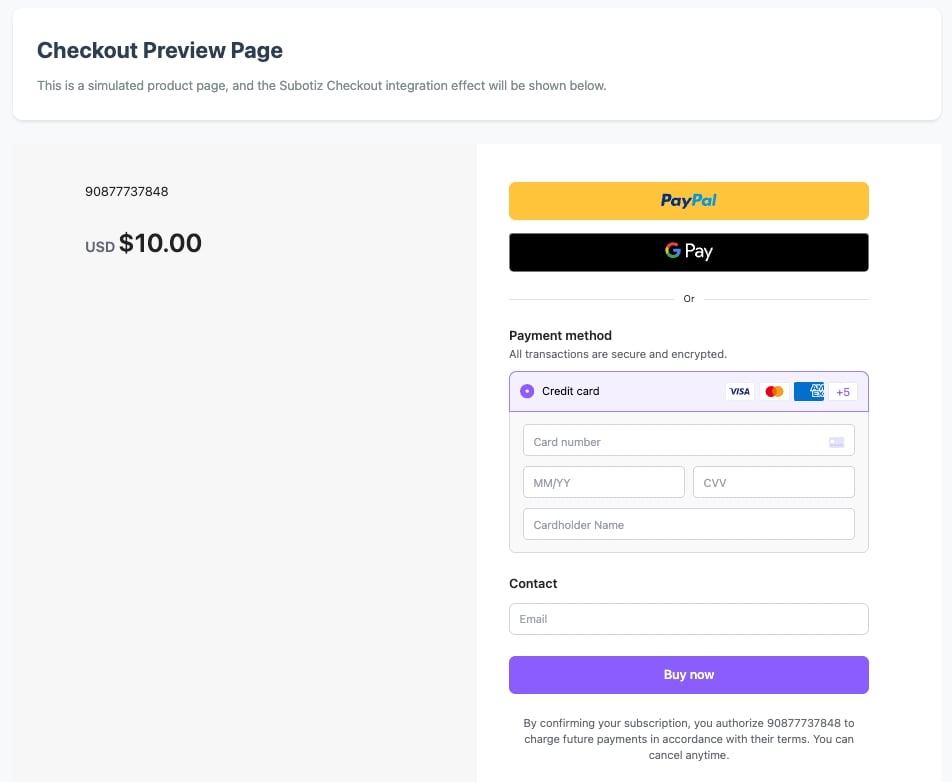
Demo of Embedding a Complete Page
Embedding Partial Components
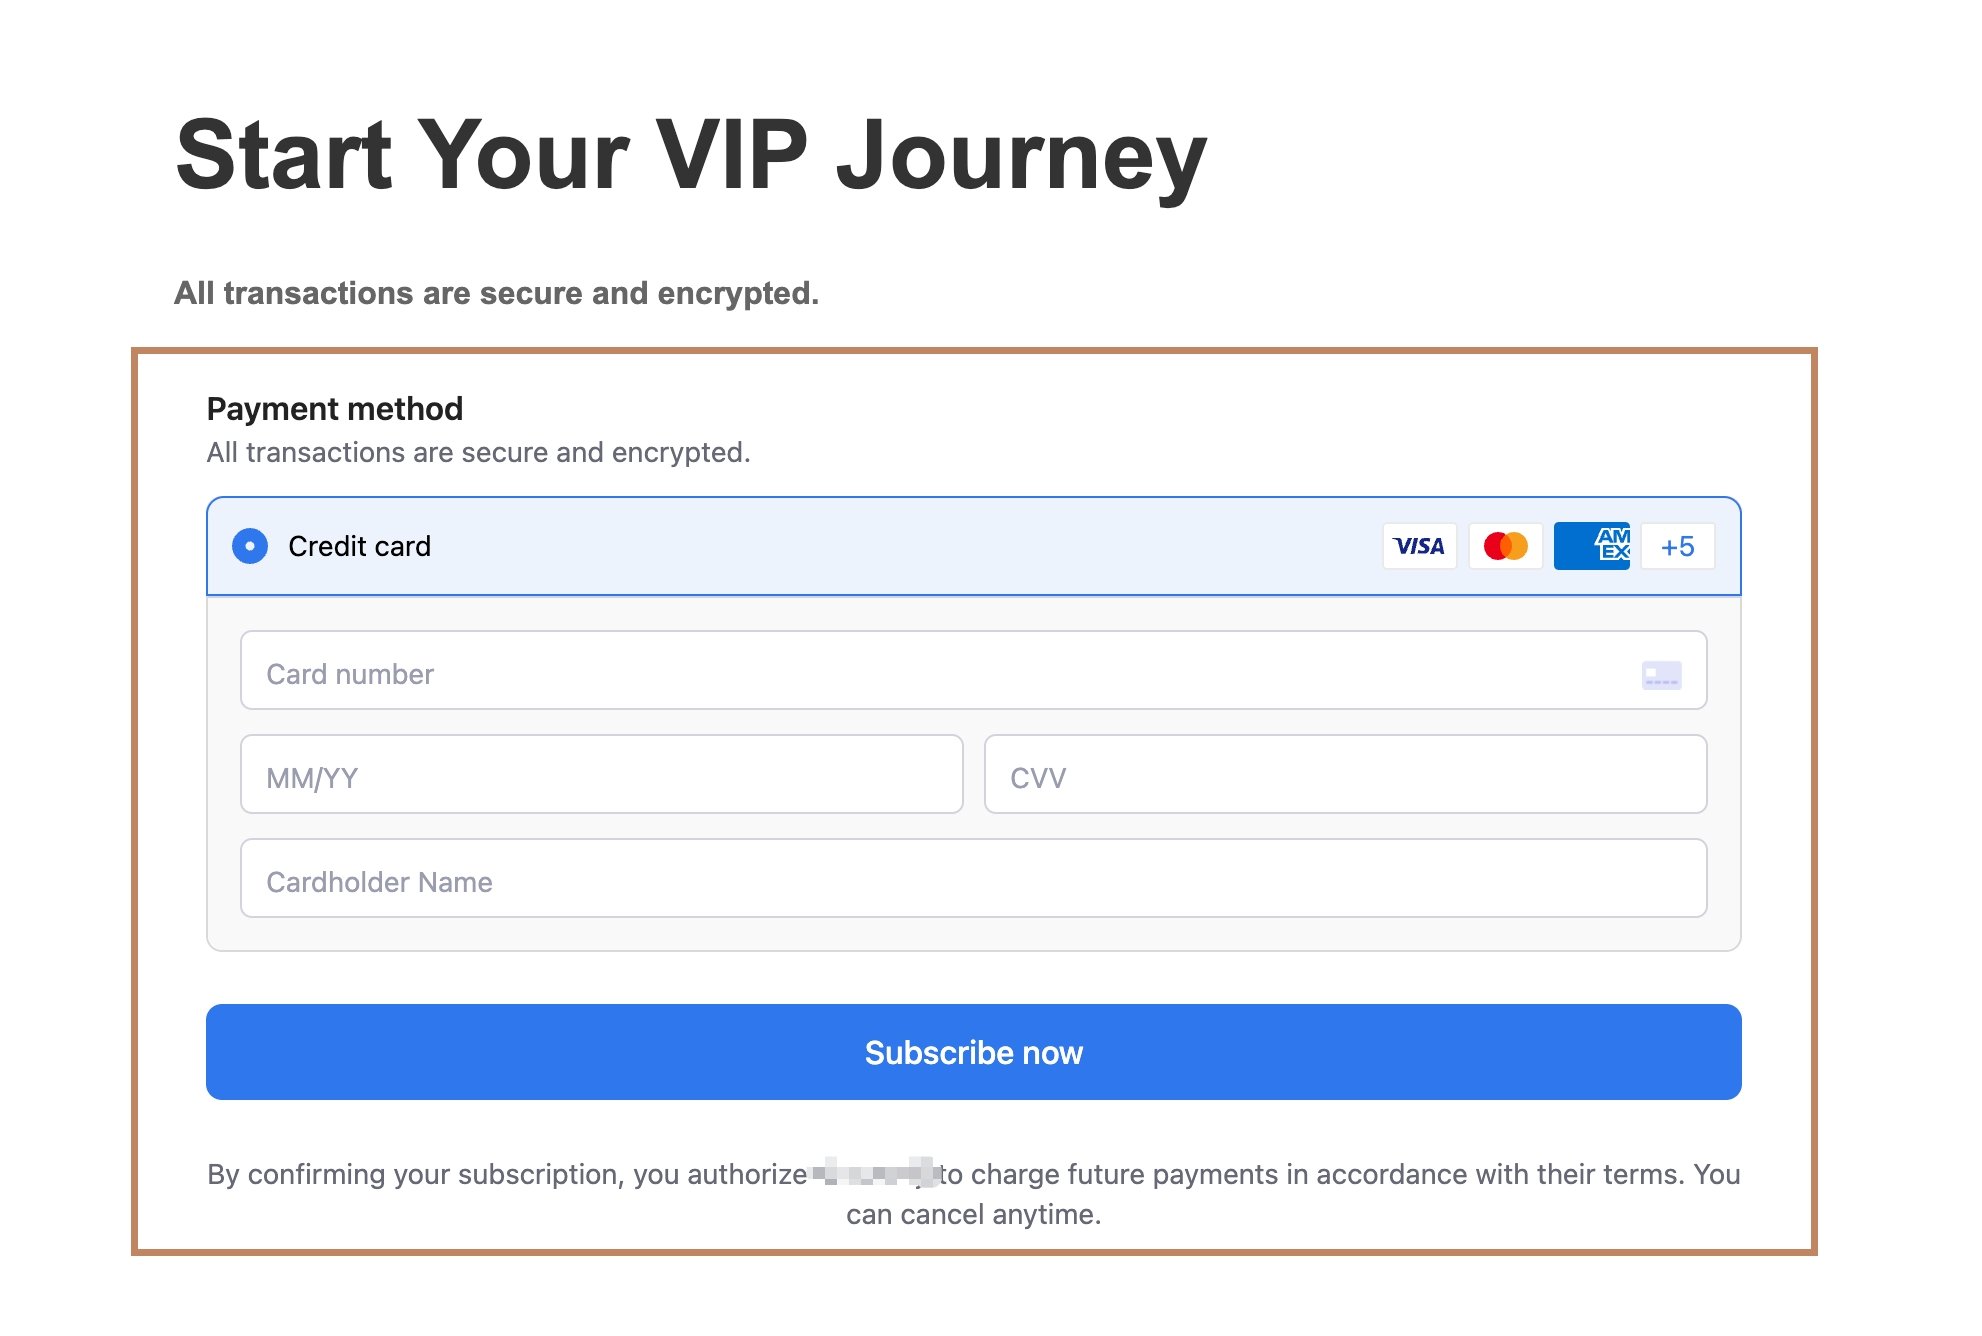
Demo of Embedding Partial Components
Payment Flow
- When a customer is ready to complete a purchase, initiate a checkout request from your client-side application to your server. Your server should use the Subotiz API to create a Checkout Session, passing the
order_id(your platform’s unique order identifier) as a parameter to facilitate subsequent association with the trade order. - The Checkout Session returns a Session ID. Your client-side application can then use the SDKs to invoke and display the Subotiz payment form to the customer.
- The customer enters their payment details into the form and completes the transaction.
- After the transaction is completed, Subotiz will notify your server via a webhook. This notification includes a payment success event containing the
order_idpassed during session creation, enabling you to correlate your platform’s order with Subotiz’s trade order.
Integration Steps
1
Provide a Webhook Endpoint
Create an endpoint to receive events for your account. When an event occurs, Subotiz will send an HTTPS POST request containing a JSON-formatted event object to this Webhook endpoint. You can use these events to keep your system’s business data in sync.
2
Integrate Embedded Form
Your client-side application can use the Subotiz SDK to integrate Subotiz Checkout.
1. Load Subotiz.js
2. Provide Container Element
3. Create Checkout Session
Use the Subotiz API to create a Checkout Session , and return the response to your frontend.Example: Creating a Checkout Session in Embedded Mode:Key Parameters
order_id: Your platform’s internal order ID for subsequent business data correlationintegration_method: Set toembeddedto use the embedded form integration methodreturn_url: URL to redirect customers to after successful payment on the Subotiz Checkout pagemode: Choosepaymentmodetotal_amount: Amount for this checkout session
4. Initialize Checkout Page
Subscription Renewal Payments
Subotiz supports subscription renewal payments. After a customer completes the initial payment, the system generates a payment credential. Subsequent subscription fees for this customer can be charged using this payment credential without requiring the customer to re-enter payment details.Renewal Process
- After the customer completes the initial payment, save the
payment_tokendata from the payment success event (trades.succeeded) to initiate renewal charges. - Use the Create Trade API endpoint in the Subotiz API to initiate the charge.
- Proactively query the trade order or wait for an asynchronous notification to obtain the payment result, then notify the customer accordingly.